BetterLinks helps you instantly convert standard affiliate URLs into high-converting Promo Cards complete with custom images, pricing, badges, and targeted call-to-action buttons. Unlike generic product box builders, every button on a Promo Card is powered by a tracked short link, ensuring all user clicks and performance data are seamlessly captured in your BetterLinks Analytics.
In this guide, you will learn how to create your first Promo Card and publish it anywhere on your WordPress site.
Note: Before you start, ensure to install & activate BetterLinks and BetterLinks PRO on your WordPress website.
Step 1: Open the Promo Cards Dashboard #
To get started, navigate to BetterLinks → Promo Cards from your WordPress dashboard.
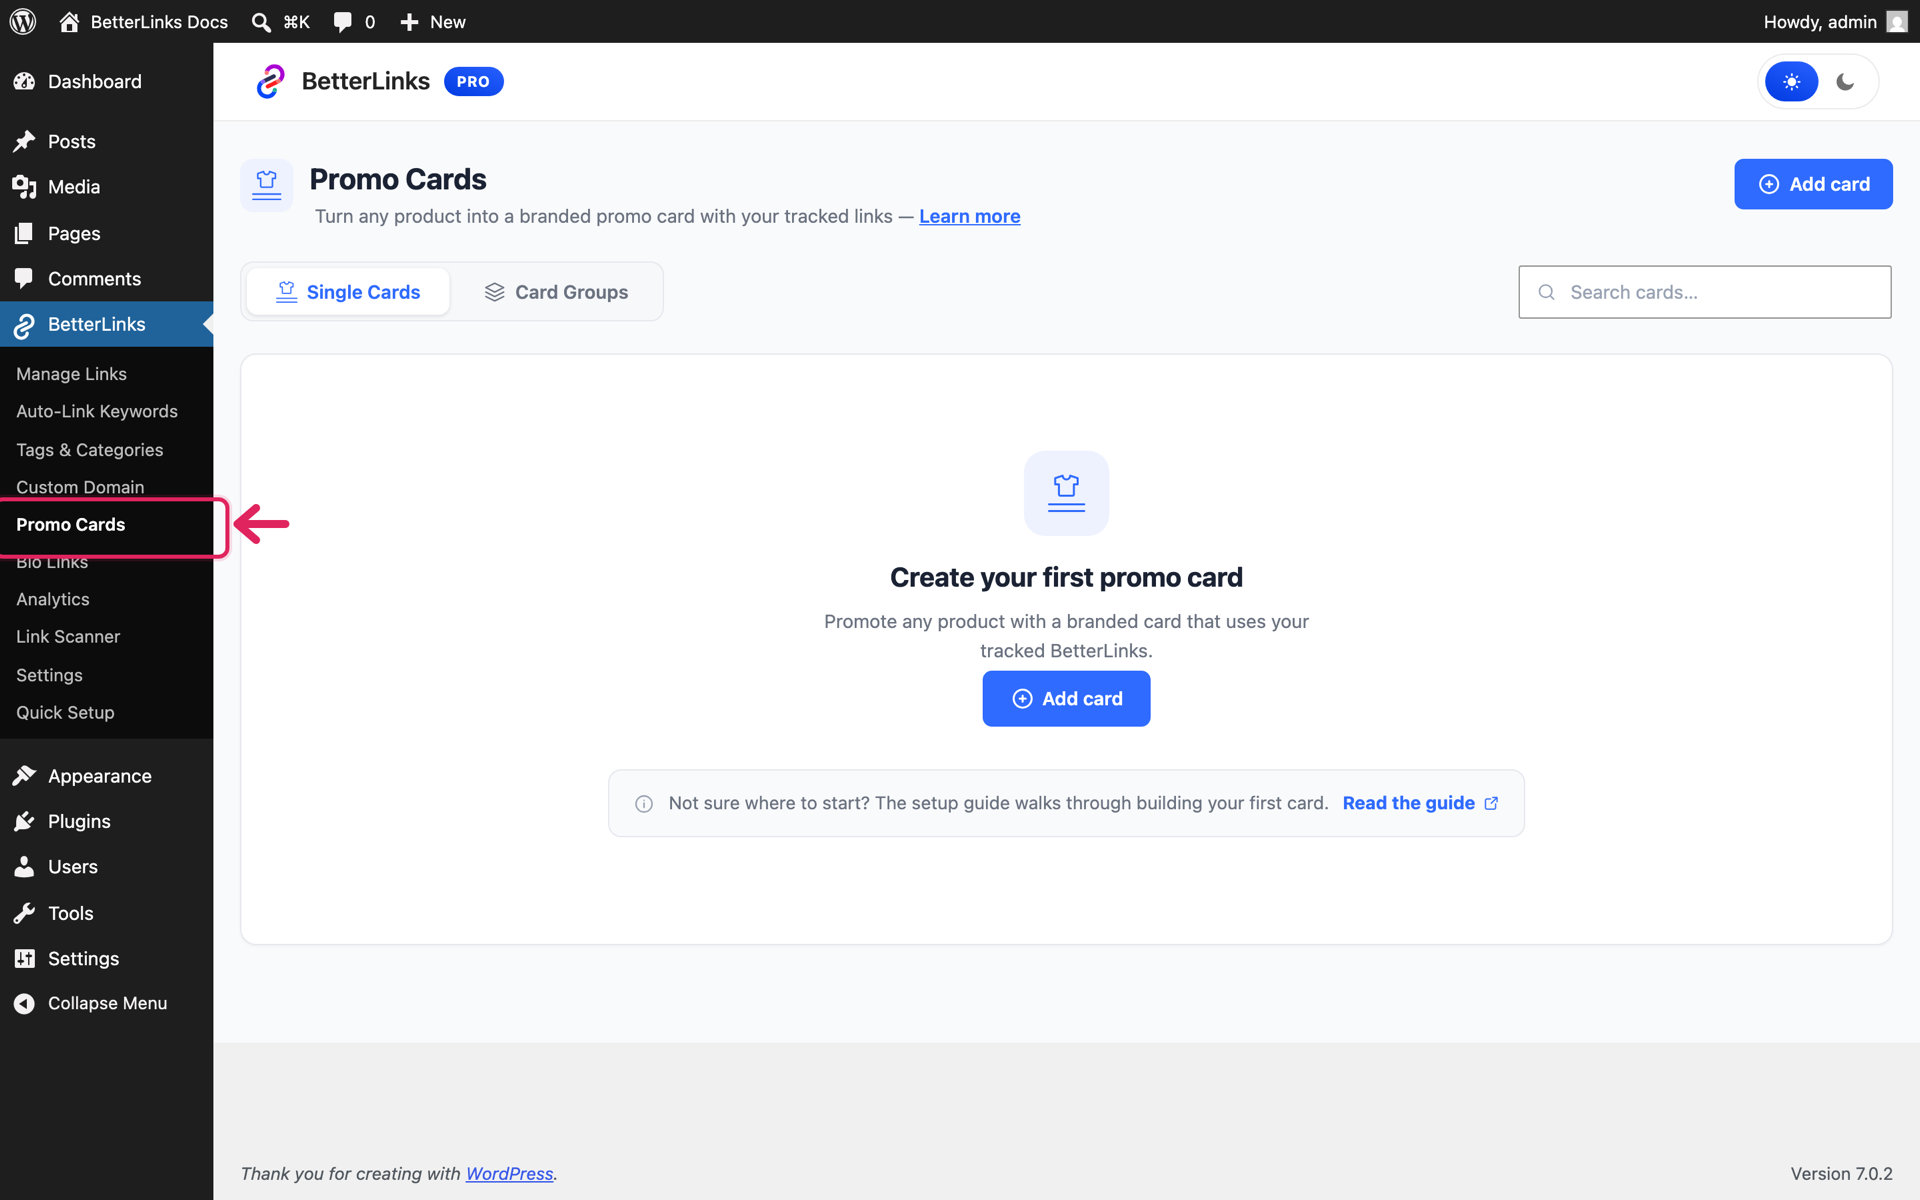
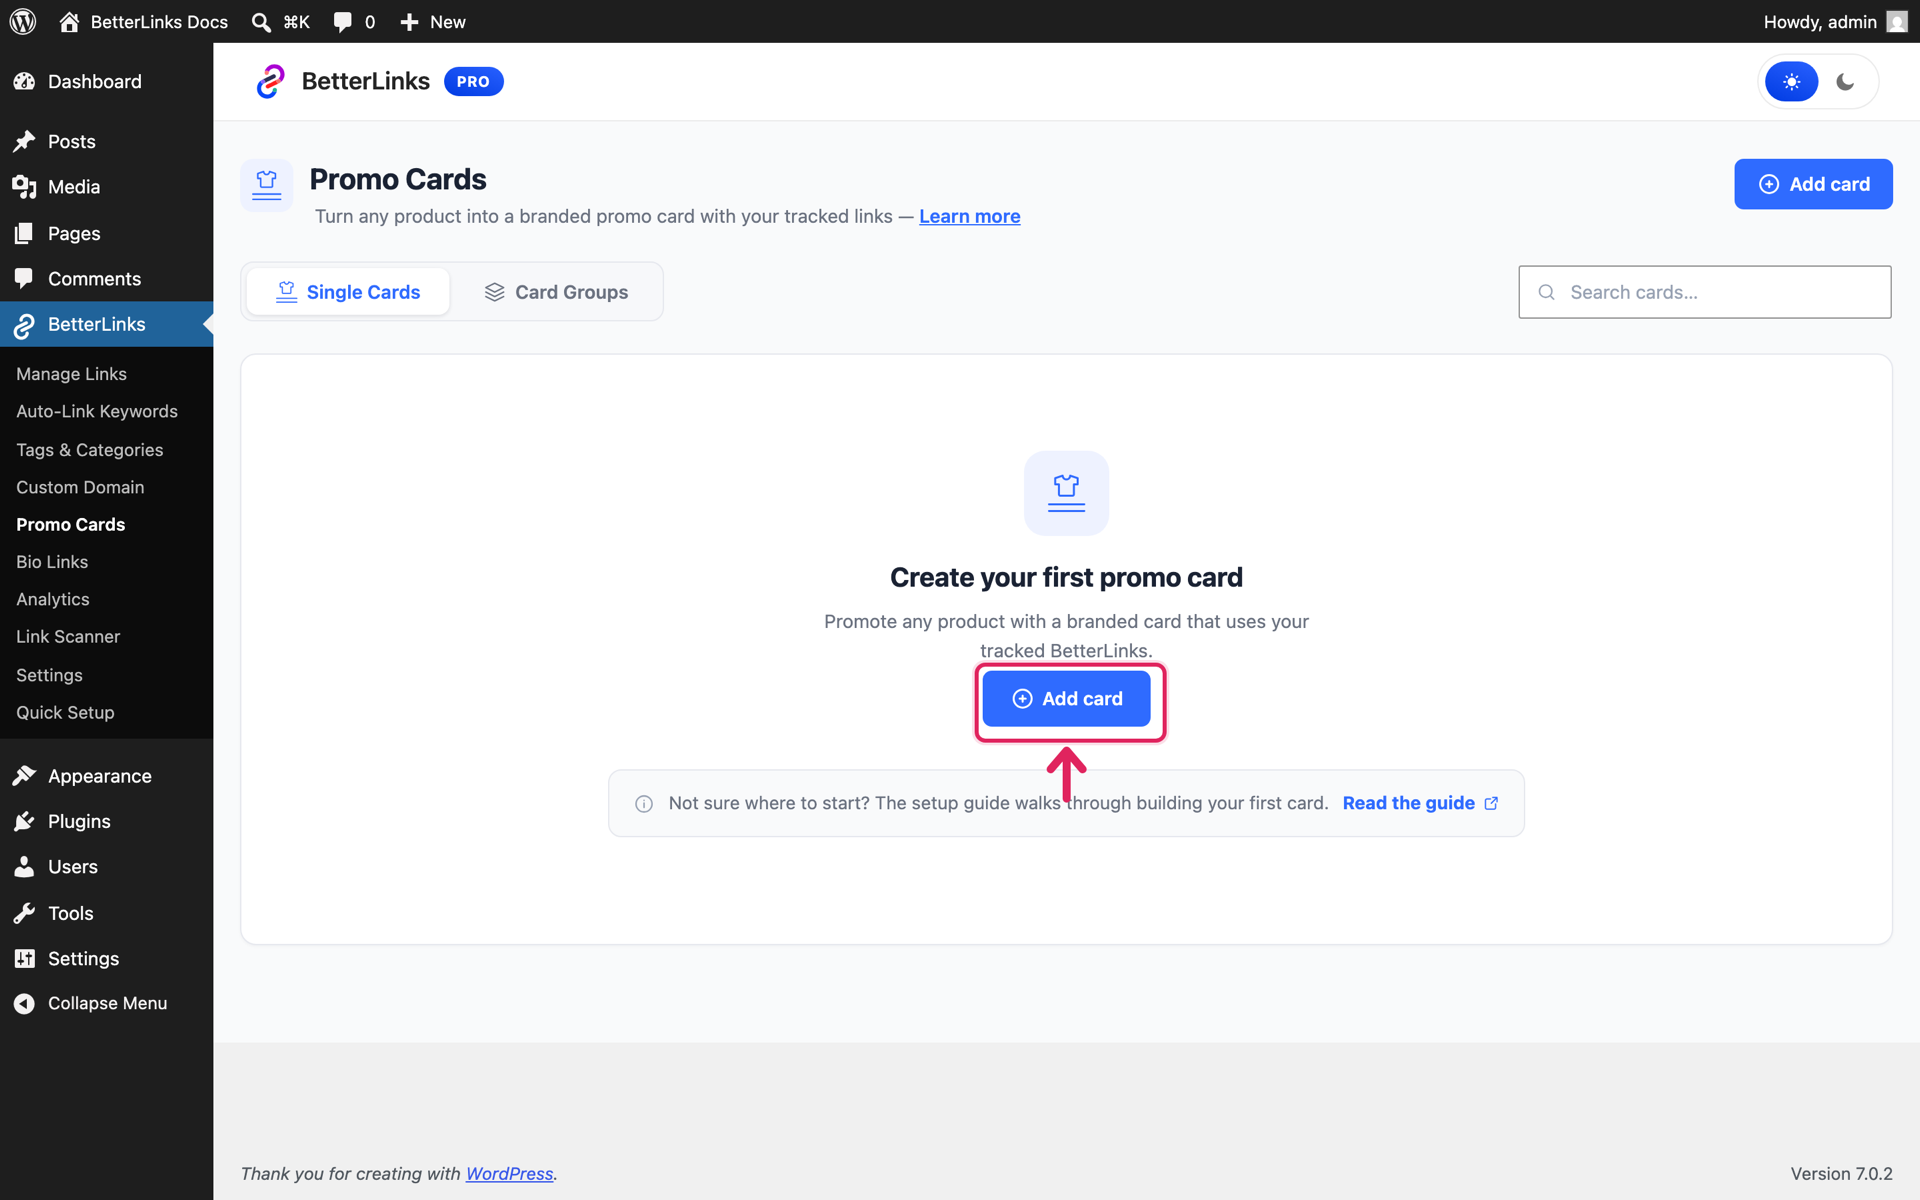
If this is your first visit, the dashboard will be empty. Click on the ‘Add card’ button to create your first Promo Card.
This will instantly open the Promo Card designer, where you can configure your card and watch it take shape in the Live Preview panel on the right.
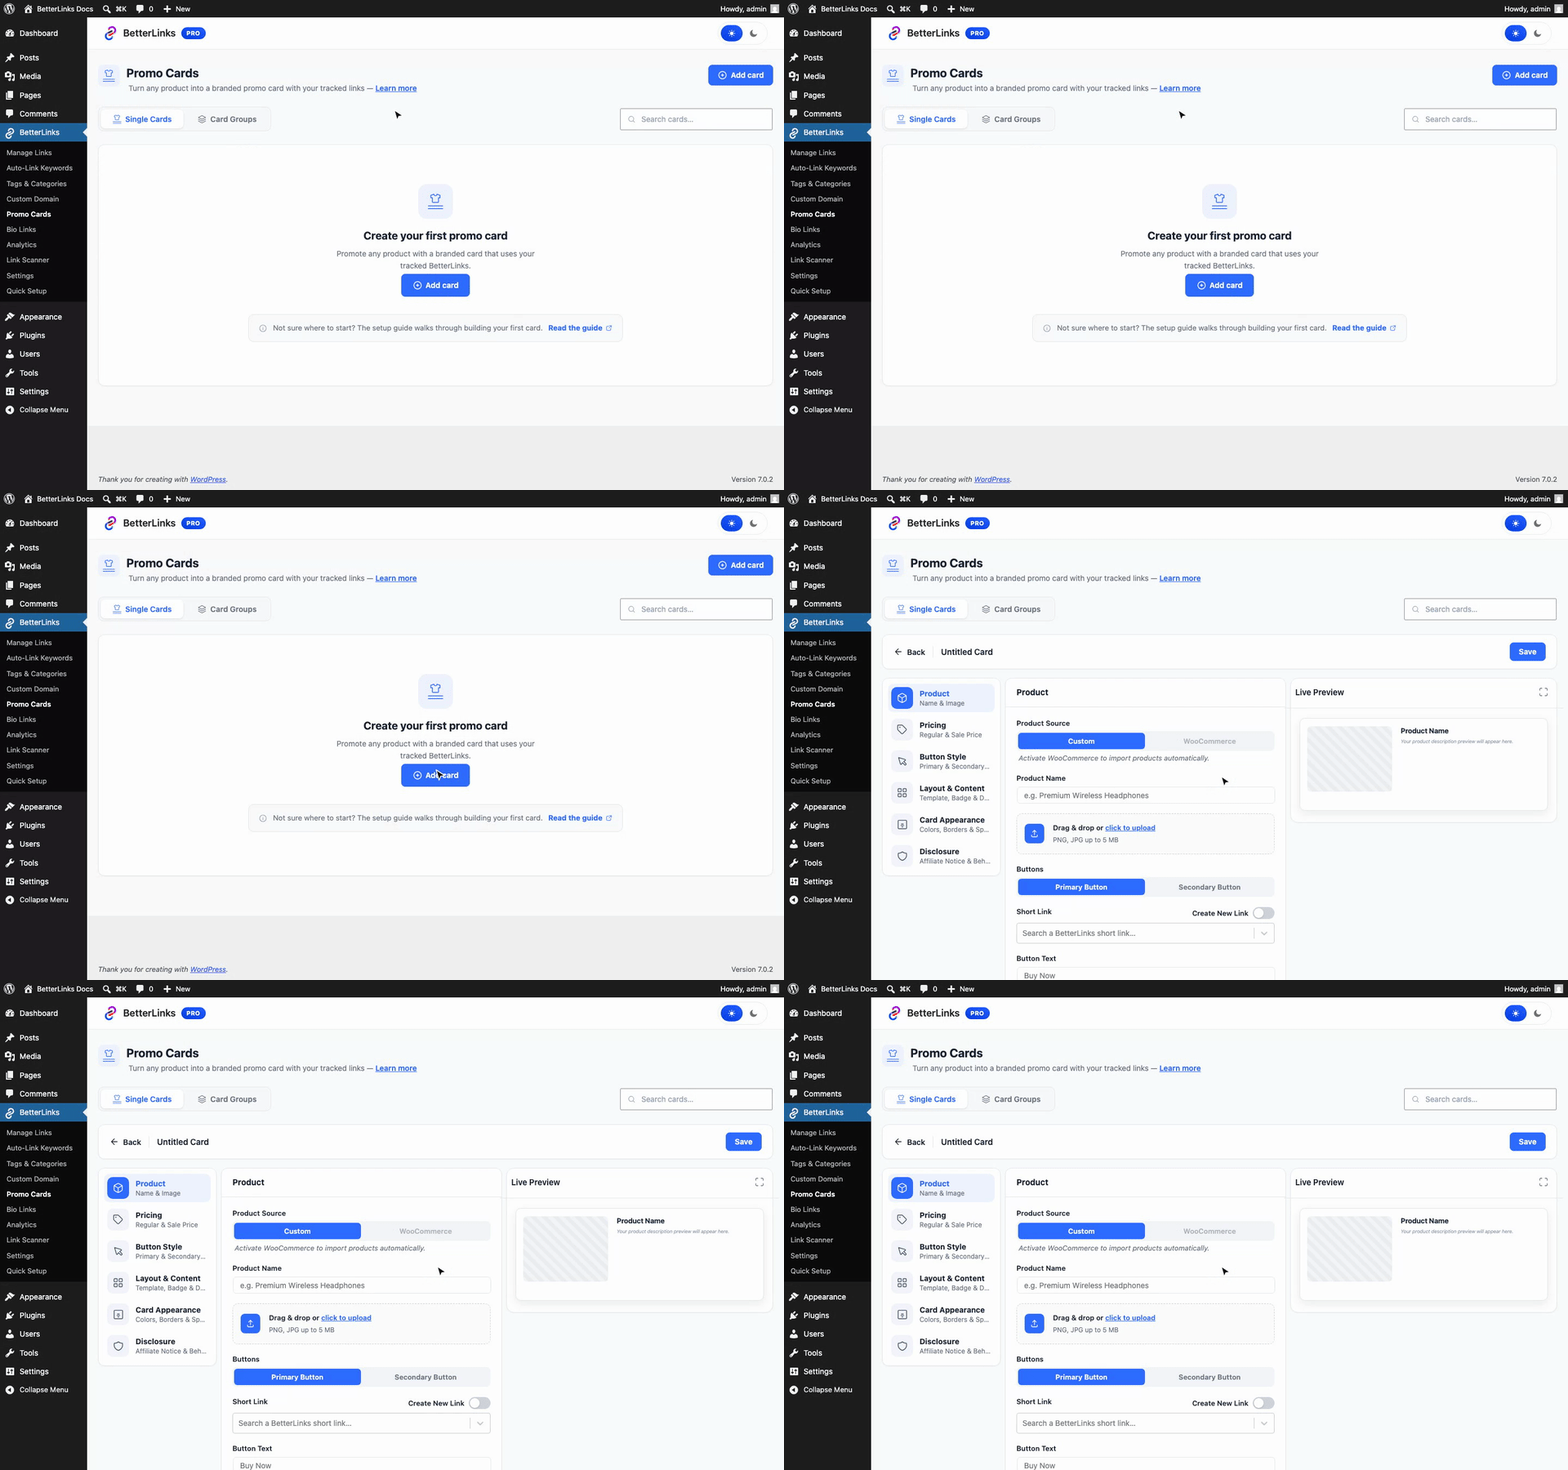
Step 2: Configure Your Promo Card #
BetterLinks makes customizing your Promo Cards simple, allowing you to design product images, pricing details, badges and call-to-action buttons to match your brand and maximize clicks.
Add Your Product Details #
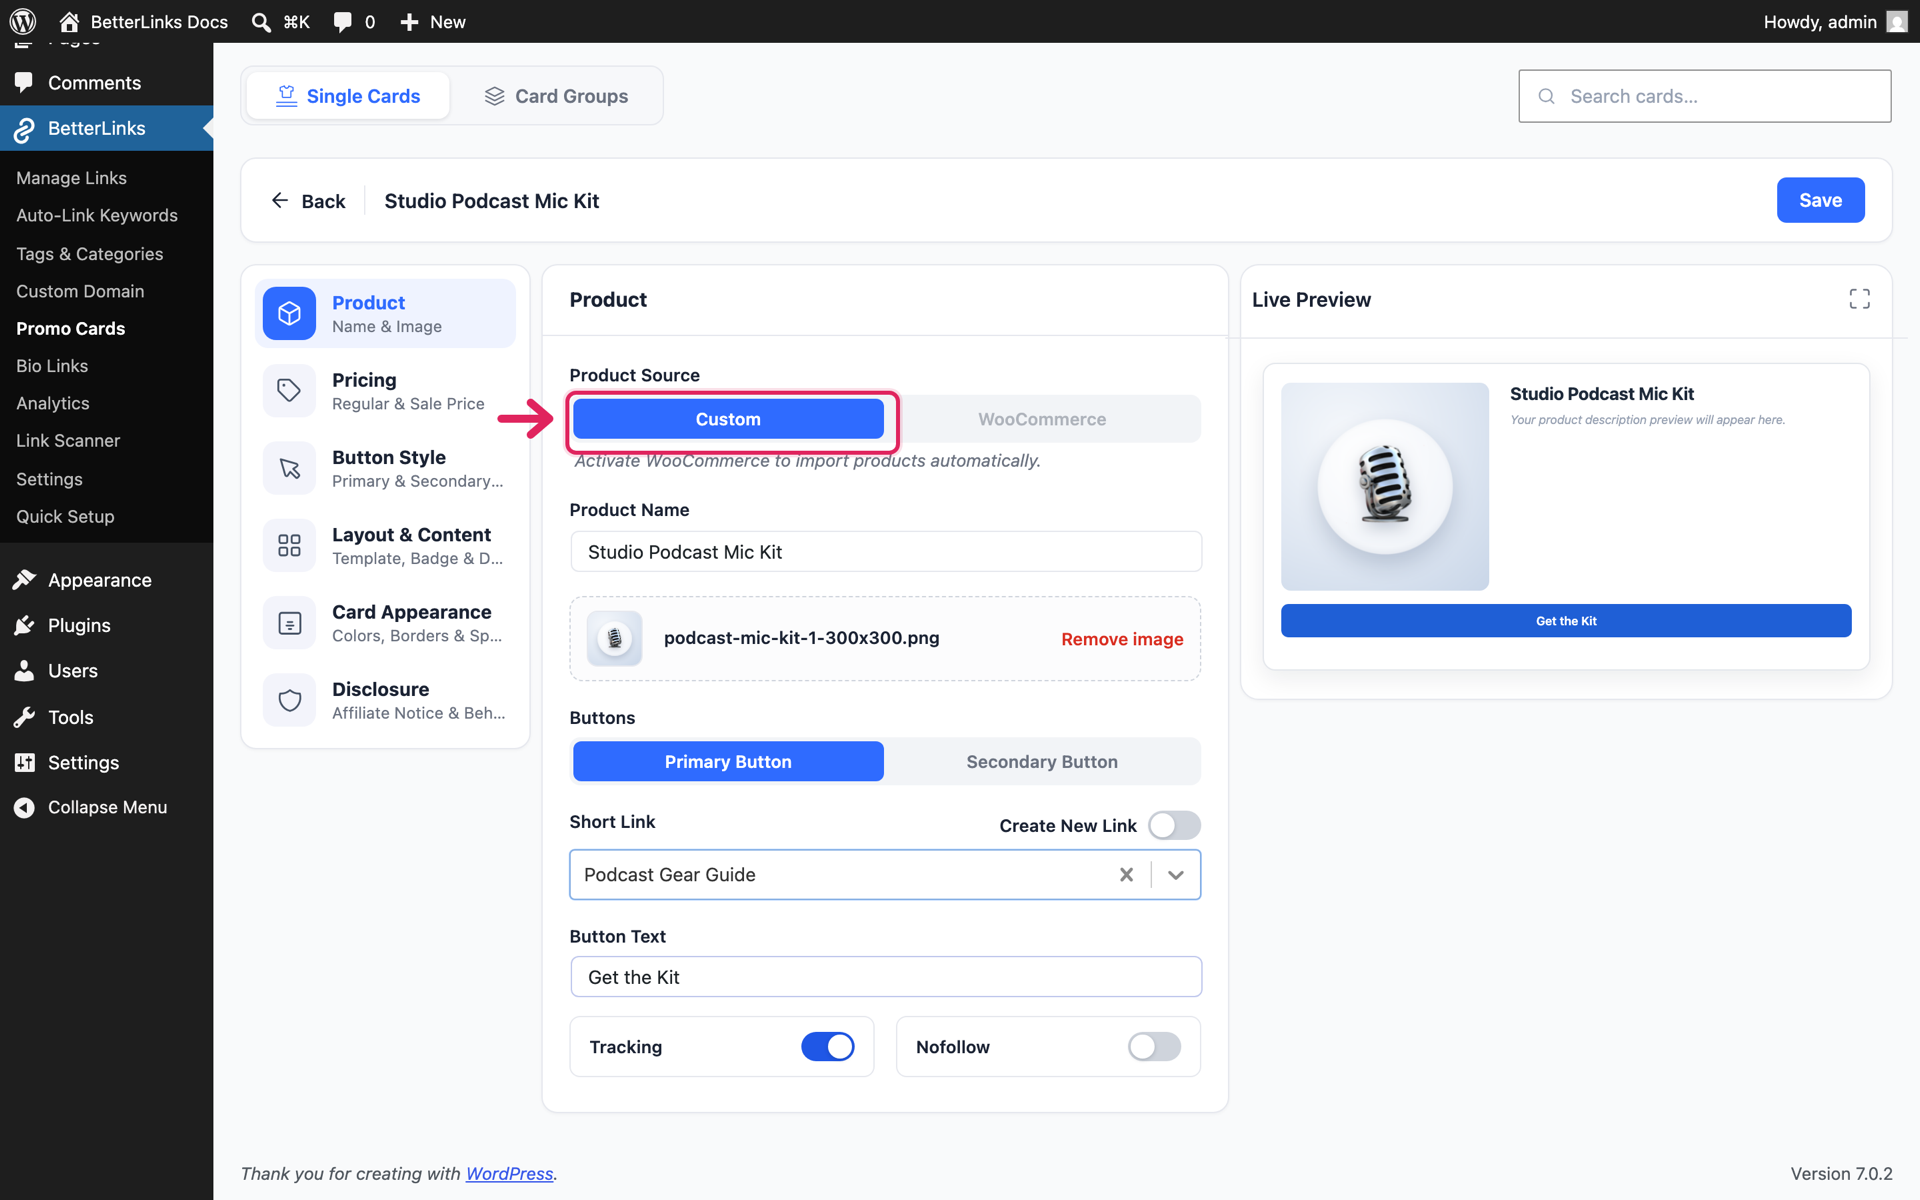
From the ‘Product’ section, choose your Product Source. Select ‘Custom’ to enter the product details manually, this works for any product or service you want to promote. (If you run a WooCommerce store, you can pick ‘WooCommerce’ instead to import a product’s name, image, and prices automatically, we will cover that in a separate guide.)
Then, type in your Product Name. To add a product image, click on the upload area, this opens your WordPress Media Library, where you can upload a new image or pick an existing one, then hit the ‘Select’ button.
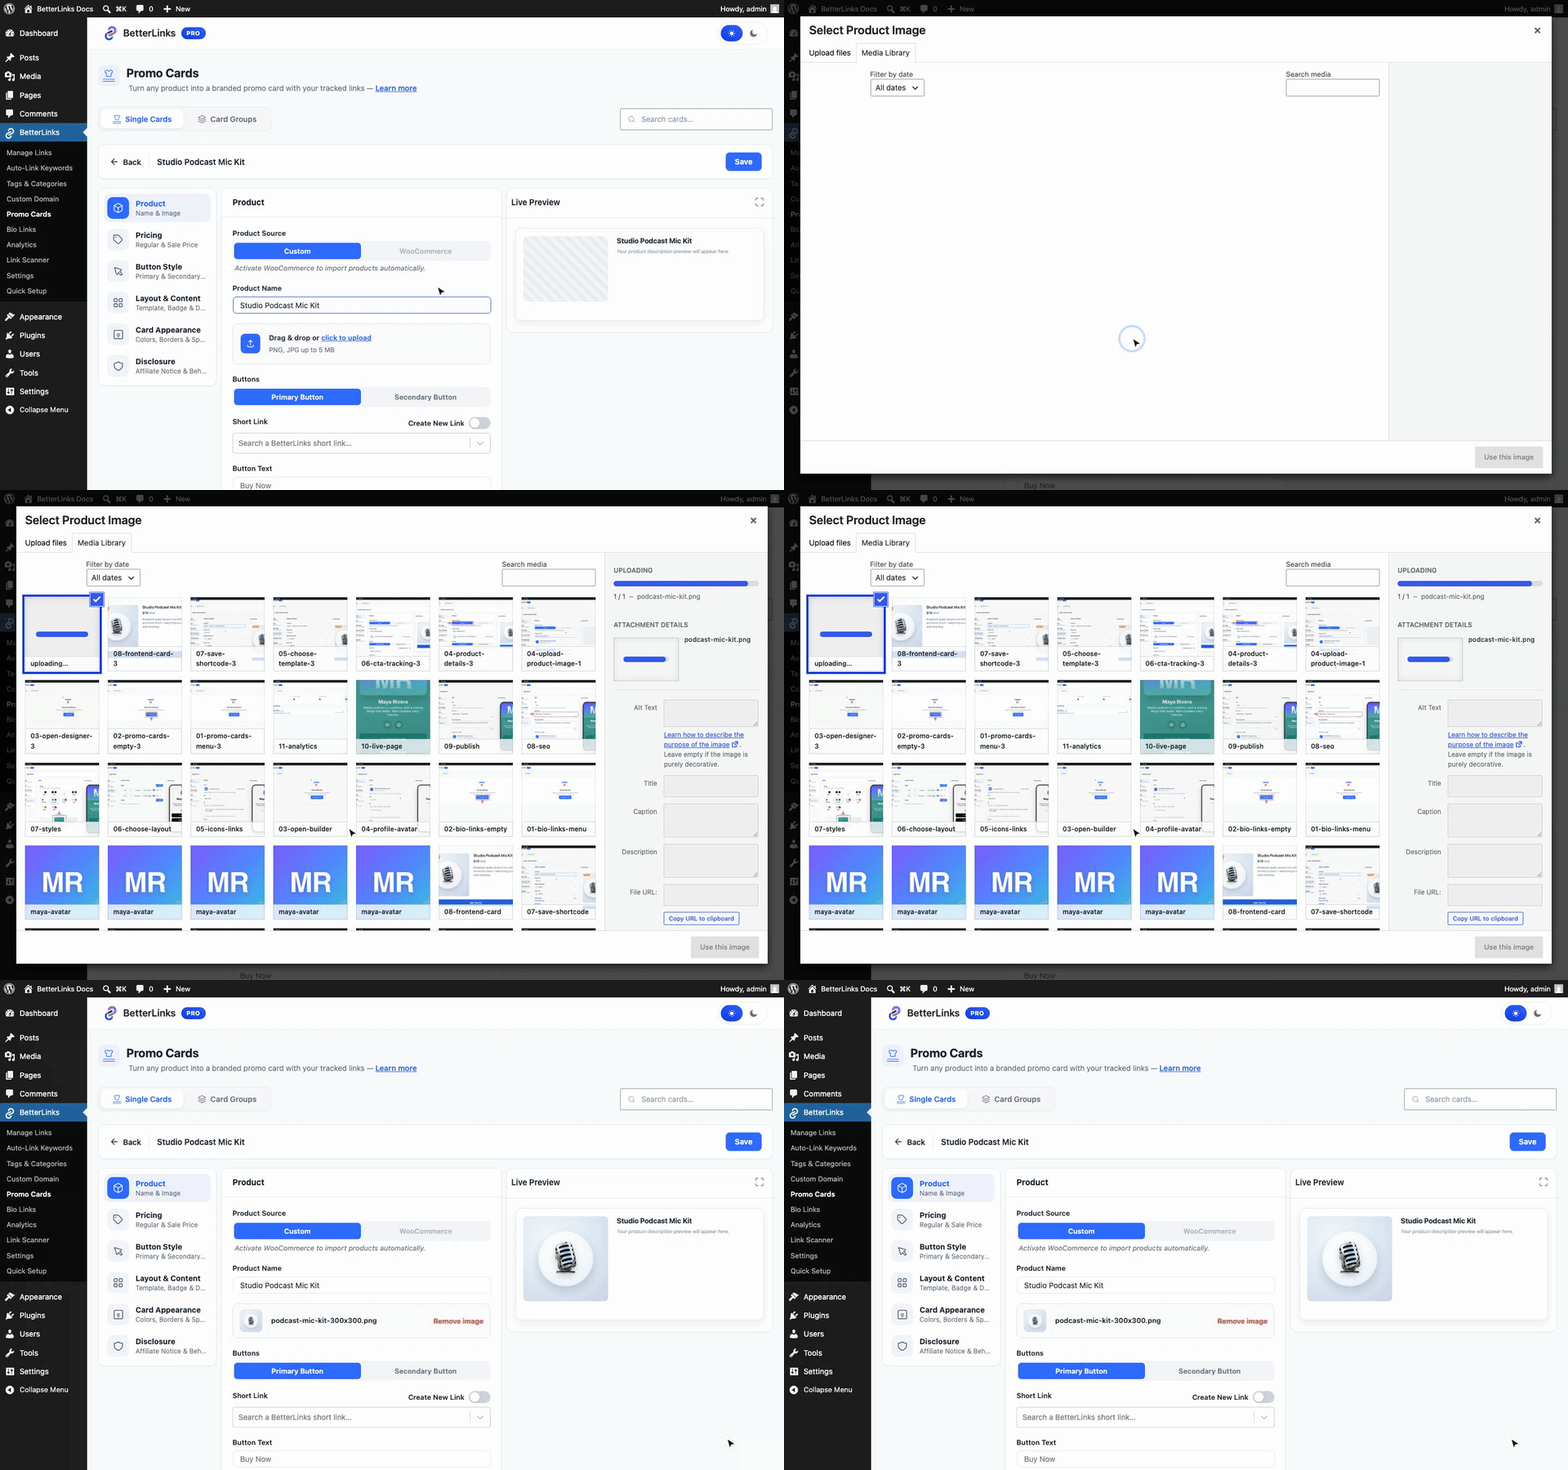
Once selected, the image appears in the designer and your card starts taking shape in the Live Preview:
Set Up Your Call-To-Action Button #
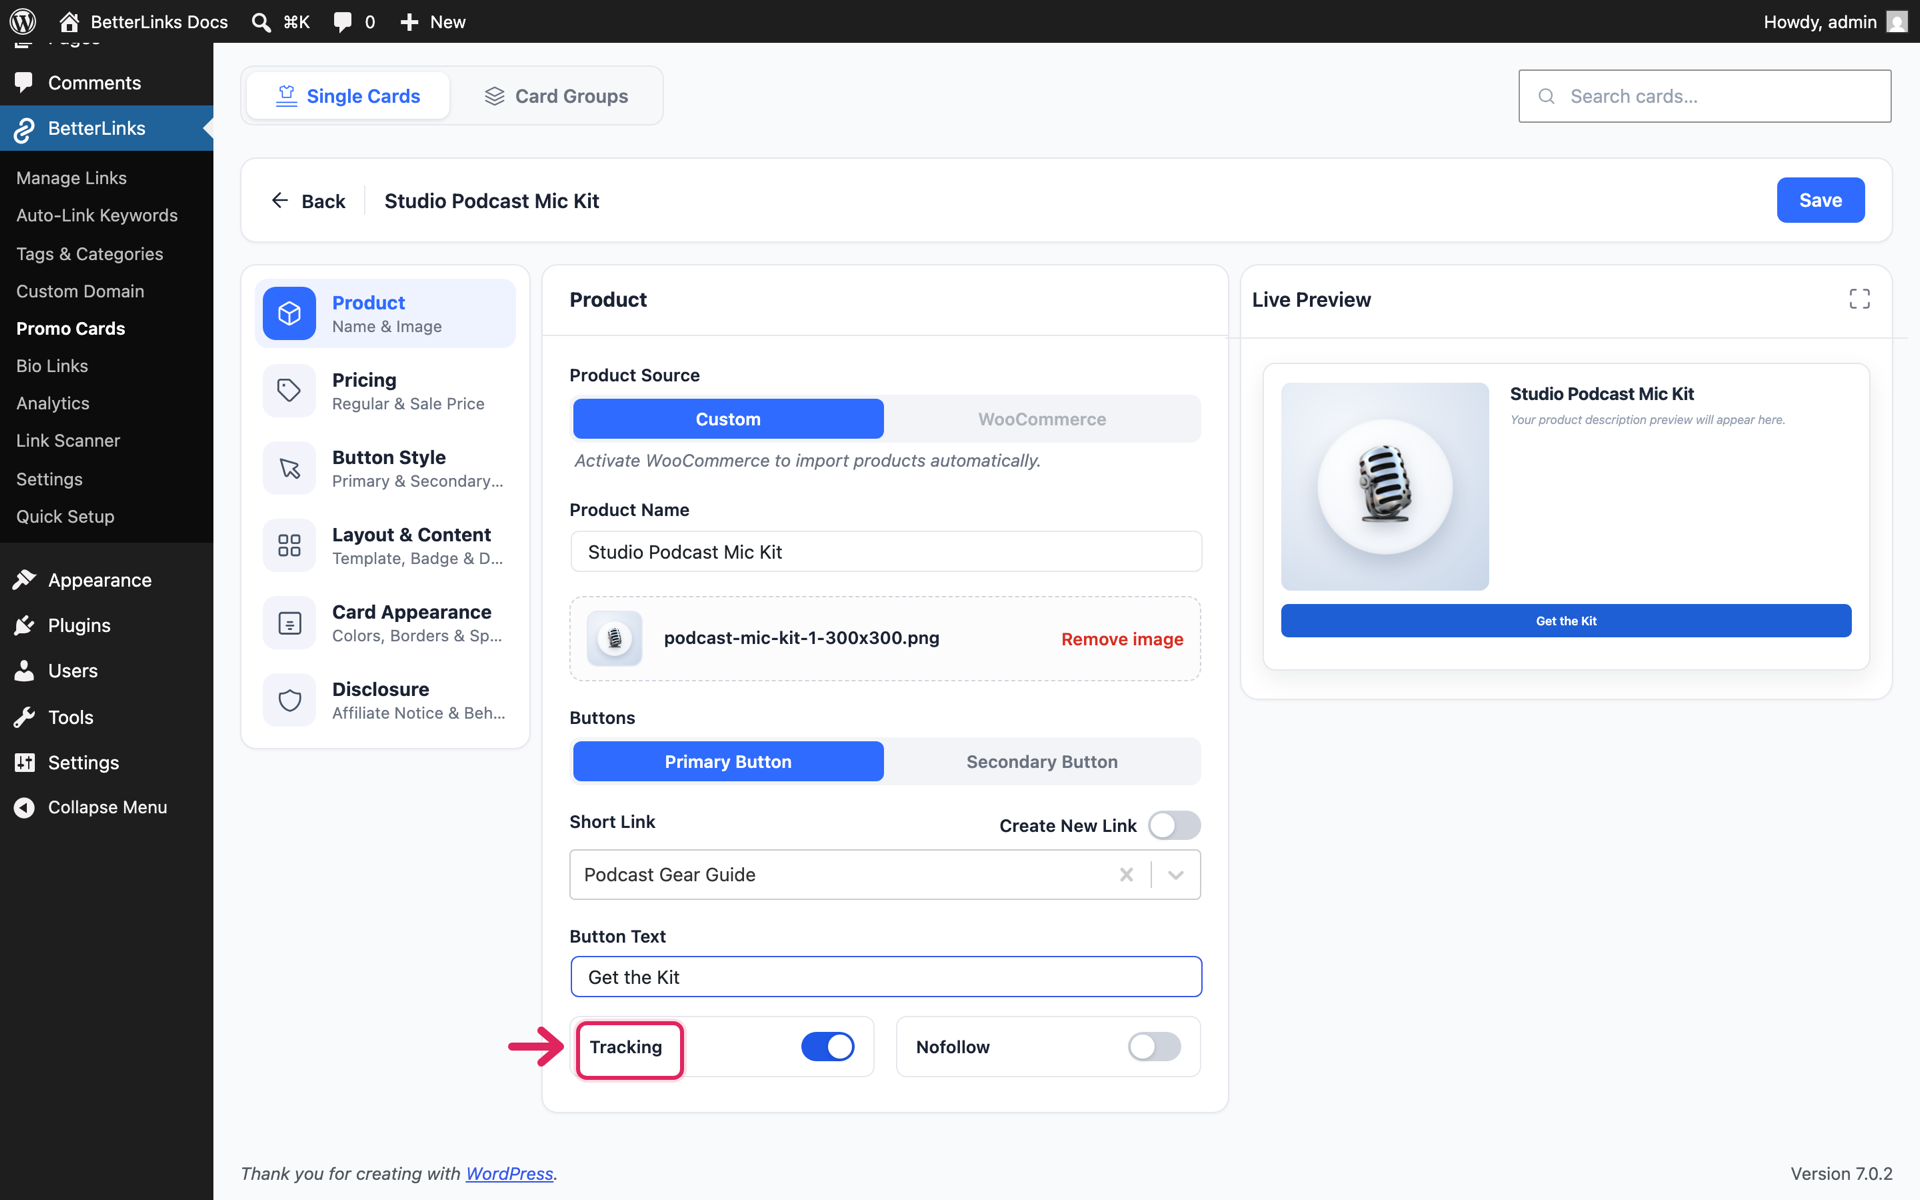
Every Promo Card can have a Primary and an optional Secondary button. Under ‘Short Link’, search and select any of your existing BetterLinks short links or flip the ‘Create New Link’ toggle to generate a brand-new short link by simply typing the destination URL.
Next, set your Button Text and configure the two toggles:
- Tracking: keep this enabled to route clicks through your short link, so they appear in BetterLinks Analytics.
- Nofollow: adds a
rel="nofollow sponsored"attribute to the button — recommended for affiliate links.
Add Pricing #
From the ‘Pricing’ section, you can set a Regular Price and a Sale Price. When both are set, the sale price is displayed prominently while the regular price appears struck through, a proven way to highlight a deal.
Choose a Template & Add Content #
Head over to the ‘Layout & Content’ section to pick one of the five ready templates Epsilon, Vega, Pollux, Sirius and Orion, each with a different image placement and button arrangement. The Live Preview updates instantly as you switch.
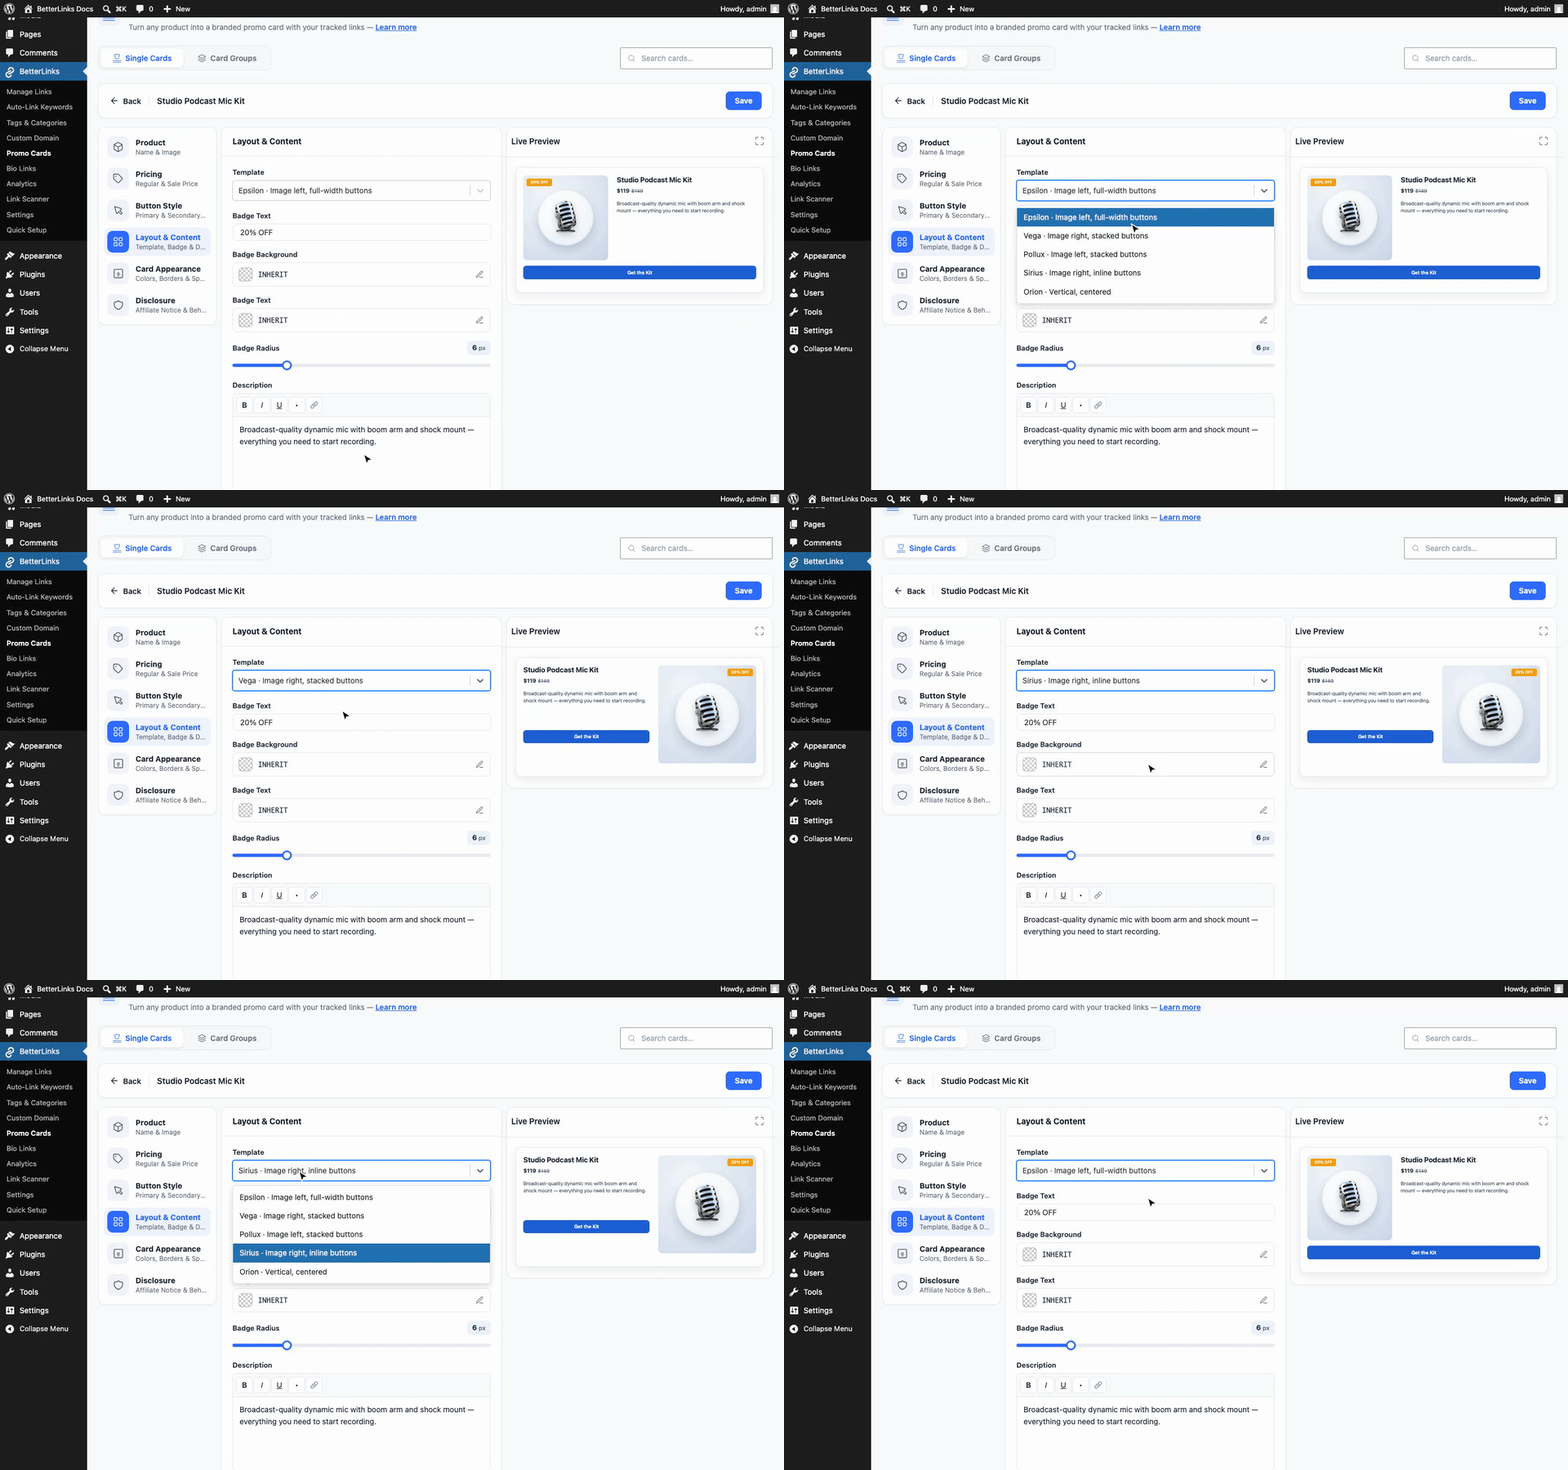
In the same section, you can add a Badge (e.g. ‘20% OFF’) and write a short, scannable description for your product.
Style Your Card & Disclosure (Optional) #
Want to match your brand? The ‘Button Style’ and ‘Card Appearance’ sections let you customize colors, borders, radius, and spacing. And from the ‘Disclosure’ section, you can display an affiliate disclosure under the card, either your global BetterLinks disclosure text or a custom one for this card.
Step 3: Publish Your Promo Card on Your Site #
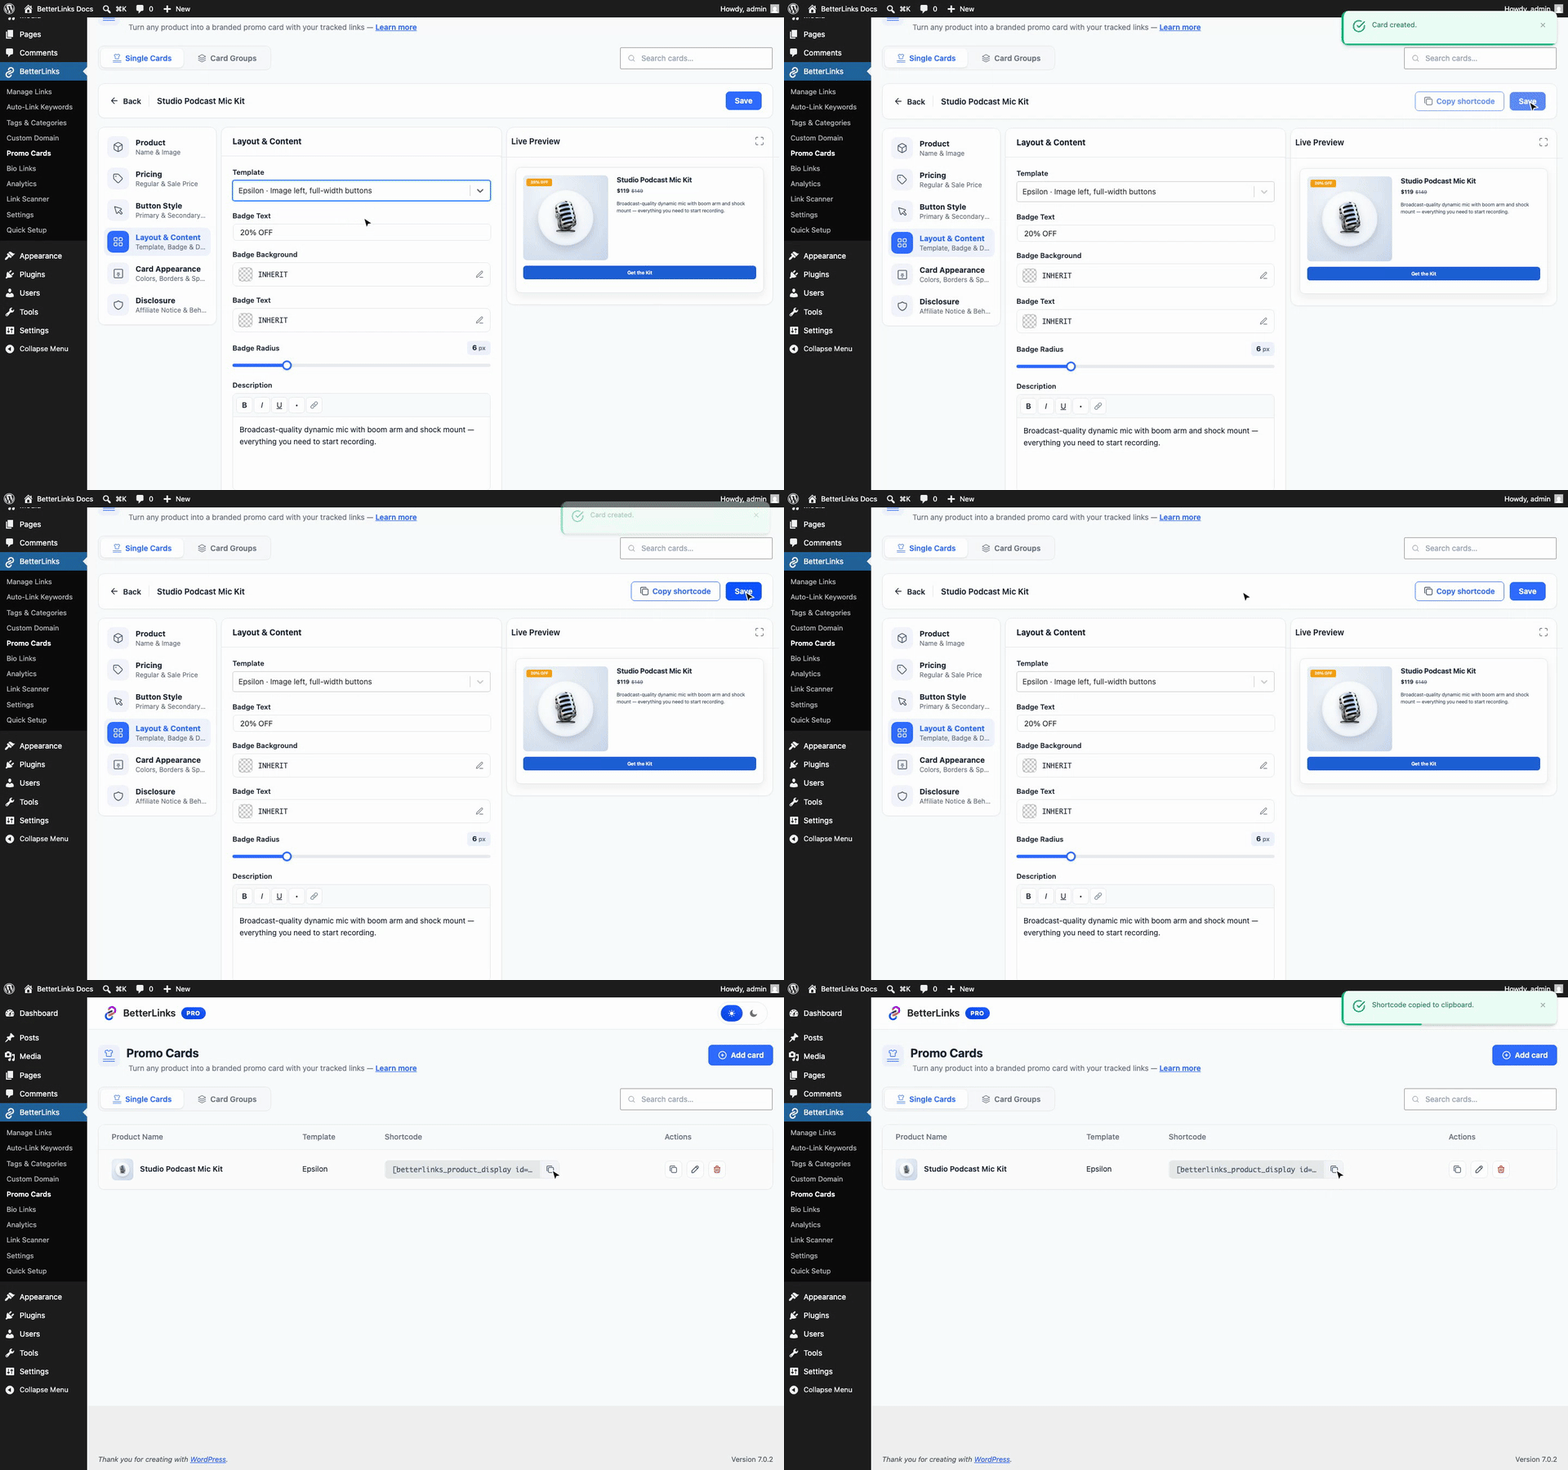
Once you are happy with the Live Preview, hit the ‘Save’ button. You will be taken back to the Promo Cards dashboard, where your new card is listed along with its ready-to-use shortcode, click the copy icon to grab it.
Final Outcome #
Now paste the shortcode into any post, page, or widget area. You can also insert the Promo Card block in the Gutenberg editor or use the Promo Card widget in Elementor, all three methods render the same card.
Here is how the finished Promo Card looks on a live page:
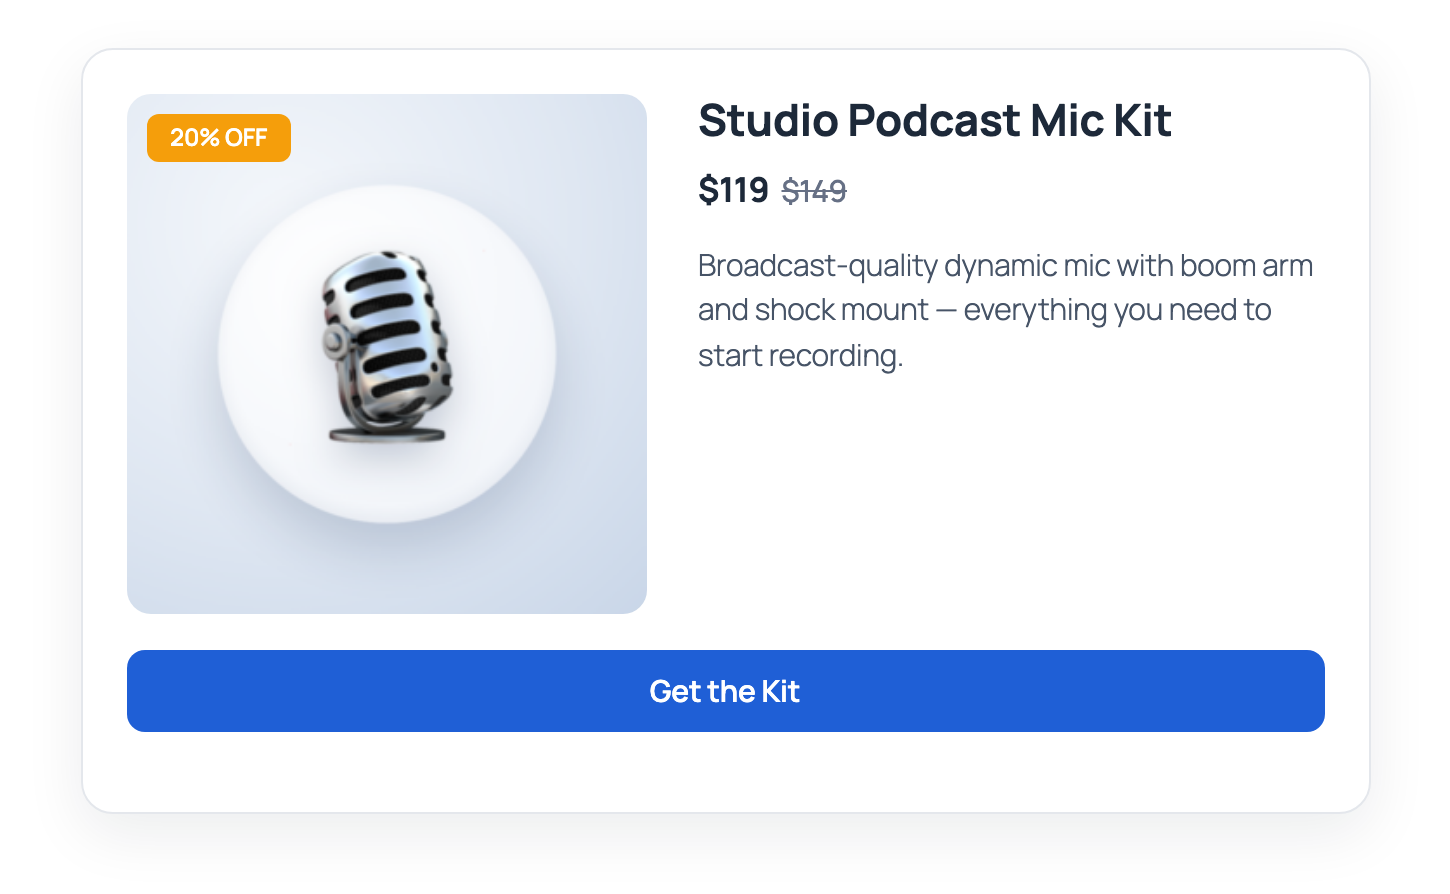
That’s it, every click on your card’s buttons is now tracked, and you can monitor its performance from BetterLinks → Analytics.
Getting stuck? Feel free to contact our support team for further assistance.