BetterLinks helps you configure a dynamic UTM template to manage and monitor your marketing campaigns. Instead of manually adding UTM codes to your URLs, you simply enter your campaign parameters and BetterLinks automatically generates the tracking links for you.
With these UTM codes in place, you can easily track the performance of your campaigns through BetterLinks Analytics and gain valuable insights to optimize your marketing strategy.
Note: To get started, ensure that you have a WordPress site with the BetterLinks plugin installed and activated.
Guide To Create a Dynamic UTM Template with BetterLinks #
This guide provides step-by-step instructions for creating dynamic UTM templates using BetterLinks. It helps users maintain consistent tracking across multiple categories with minimal manual input.
Step 1: Create A UTM Template #
To get started, log in to your WordPress dashboard’ and navigate to BetterLinks → Settings from the left-hand menu. Within the ‘Settings’ option, locate and click on the ‘UTM Builder’ option.

Then, click the ‘Create New Template’ button to begin the template creation process.

Now, create your Dynamic UTM template with basic tracking info. Such as, name, category, source, medium, campaign, etc.

To customize your dynamic UTM template further, check ‘Overwrite Existing UTM’ to replace any existing UTM parameters.
Then, select ‘Apply this UTM for ALL Future Links’ to automatically apply the template to new links.

Once you’ve configured everything, click the ‘Create Template’ button to save your settings.
Step 2: Apply the UTM Template #
After creating the template, a popup will appear showing the existing URL numbers on your site from that category. Then click ‘Apply UTM Template’.

A summary will be displayed like below, showing Skipped Links (the number of links not updated), Updated Links (the number of links successfully modified) and Total Links (the overall count of links processed).

Make sure all fields are filled out accurately to avoid tracking errors and regularly review and update your templates to keep them aligned with new campaigns.
Step 3: Reset Or Edit the UTM Template #
If you’d like to reset a UTM template you have previously created, simply head over to the ‘UTM Builder’ section in your dashboard. Go to your configured template and click the ‘Edit’ icon next to it.
From there, you’ll be able to make changes or reset the template as needed.

Next, you’ll see the ‘Reset Existing UTM’ button appear. Click it to proceed.

A popup will appear with a warning message: “This will remove all UTM parameters from” followed by the specific URLs in the category where your UTM template was originally applied.

You can also update your template by clicking the same ‘Edit’ icon. From there, customize it to match your preferences.

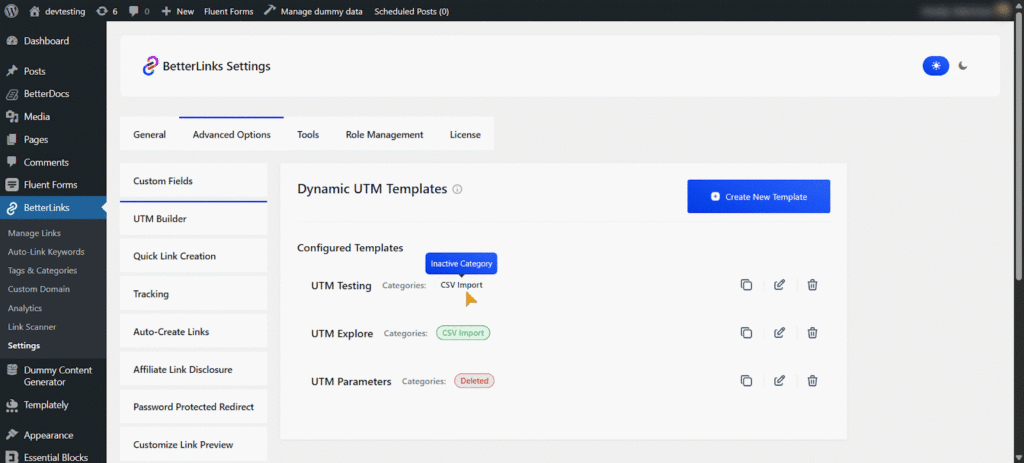
Depending on your template and category settings, you’ll see three types of category states:

A category can be active, deactivated, or deleted. If it’s active 🟩, it’s currently in use. If it’s deactivated — it’s not in use ⬜ but still saved. If it’s deleted 🟥 —it’s been removed and can’t be used anymore.
Final Outcome #
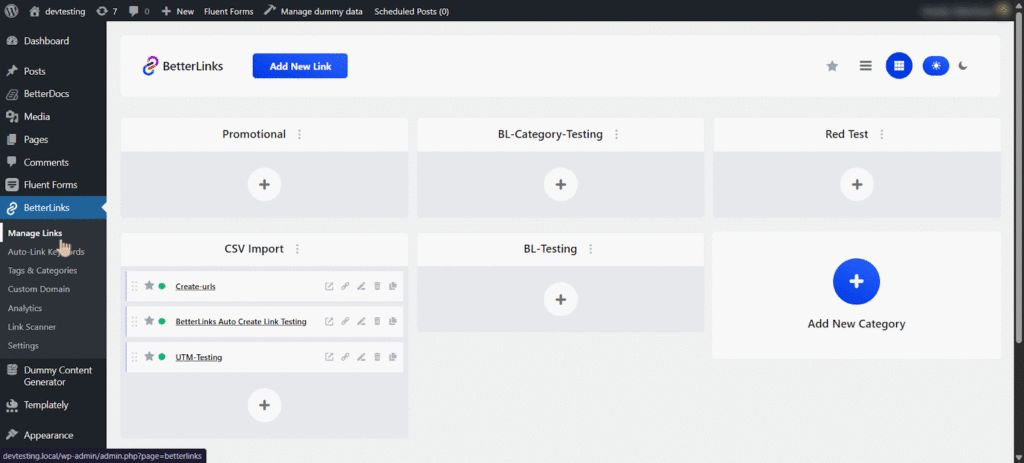
After that, your UTM template will be applied to the selected category links. To view it, navigate to Manage Links → Selected Category → Newly Created Link. You can also edit links directly from the Manage Links section.

That’s how you can easily configure UTM templates using BetterLinks within minutes.
Need help with something? You are welcome to contact our support team at any time. And don’t forget to join our Facebook community group for regular updates.


