BetterLinks Pro has advanced features that make link management more effective. You can easily ensure the success of your campaigns using the exclusive tools of BetterLinks PRO. Follow these simple steps for purchasing the PRO version of BetterLinks.
Guide to Purchase BetterLinks PRO #
First, make sure that you have installed and activated the free version of BetterLinks. Without the free version activated, you cannot use BetterLinks PRO.

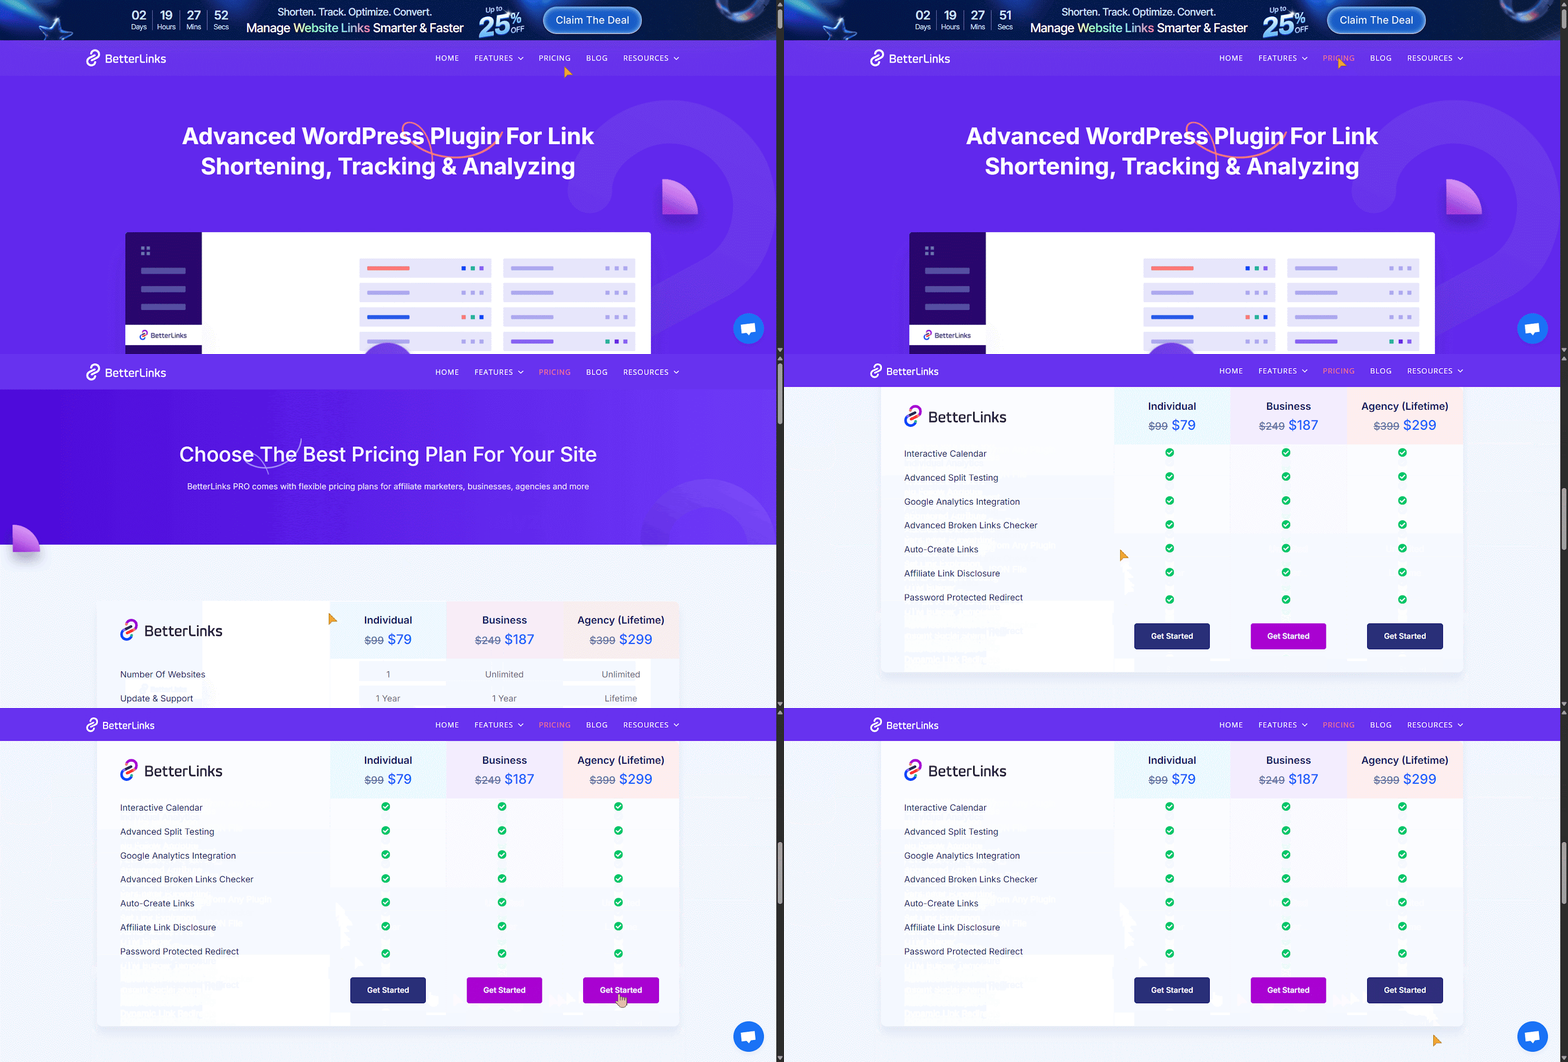
After you activate the BetterLinks free version, navigate to the BetterLinks website. Now hit the ‘Get Plugin’ button and it will redirect you to the ‘Pricing‘ section of BetterLinks Pro. Or, simply click here to explore the affordable pricing.

Next, you have to pick your preferred Pricing Plan and click on the ‘Get Started’ Button. Afterward, you will get redirected to the ‘Checkout’ Page, and BetterLinks will be ‘Added to Cart’.

How to Use the Payment Method? #
As you have selected the price plan and moved to the checkout. Now all you have to do is select a ‘Payment Method’, and carefully fill up the ‘Personal Information’, ‘Credit Information’, ‘Billing Details’, and other necessary details.

After you have completed the steps above, make sure to click on the ‘Pay $$’ Button. It will then redirect you to confirm your ‘Card Information‘ and click on the ‘Pay’ Button.

After your payment is successfully made, you will be redirected to the ‘Purchase Confirmation’ page. You can download the BetterLinks Pro plugin from this page. If you want to know how to activate BetterLinks Pro on your WordPress site, check out the linked documentation.
By following these simple steps, you can purchase BetterLinks PRO and get started exploring its amazing widgets. Get Stuck? Feel free to contact our support team for further assistance.


