BetterLinks allows you to easily import custom links in bulk using a CSV file, saving you time and effort when managing your link redirects. Whether you’re organizing existing links or setting up a new batch, this guide will walk you through the entire process.
Guide to Import Short Links Using CSV File in BetterLinks? #
With BetterLinks, you can create different types of links based on your needs, like shortened links, dynamic redirects (geolocation, time-based, rotation), UTM links, etc type of links. This lets you generate a custom CSV structure that matches the link types and settings you use.
Follow the steps below to import short links into your WordPress site using BetterLinks.
Step 1: Create Links for Custom CSV #
First, from your WordPress dashboard, go to ‘BetterLinks’ → ‘Manage Links.’ Now it’s time to create new links with BetterLinks. You can do this in two ways: either click the ‘Add New Link’ button or use the plus (+) icon under a specific category.

Fill in the ‘Title’ and ‘Target URL’, then click ‘Publish’ to create the link. You can further customize your link settings using the options available on the right-side panel. These include:
- Link Options – Configure basic settings for your link.
- Advanced – Access additional controls for enhanced customization.
- Dynamic Redirects – Set up conditional redirects based on specific rules.
- Customize Link Preview – Modify how your link appears when shared on social platforms.
These settings allow you to tailor each link according to your specific needs.For more details on creating links, refer to this documentation.

Step 2: Export Your Links #
Navigate to the ‘Tools’ section under BetterLinks. In the ‘Export’ tab, select the appropriate option from the “Choose an Option You Want to Export” (ensure you’re selecting the ‘Links’ from the options). Click ‘Export File’ to download the CSV.

Step 3: Customize the Exported CSV #
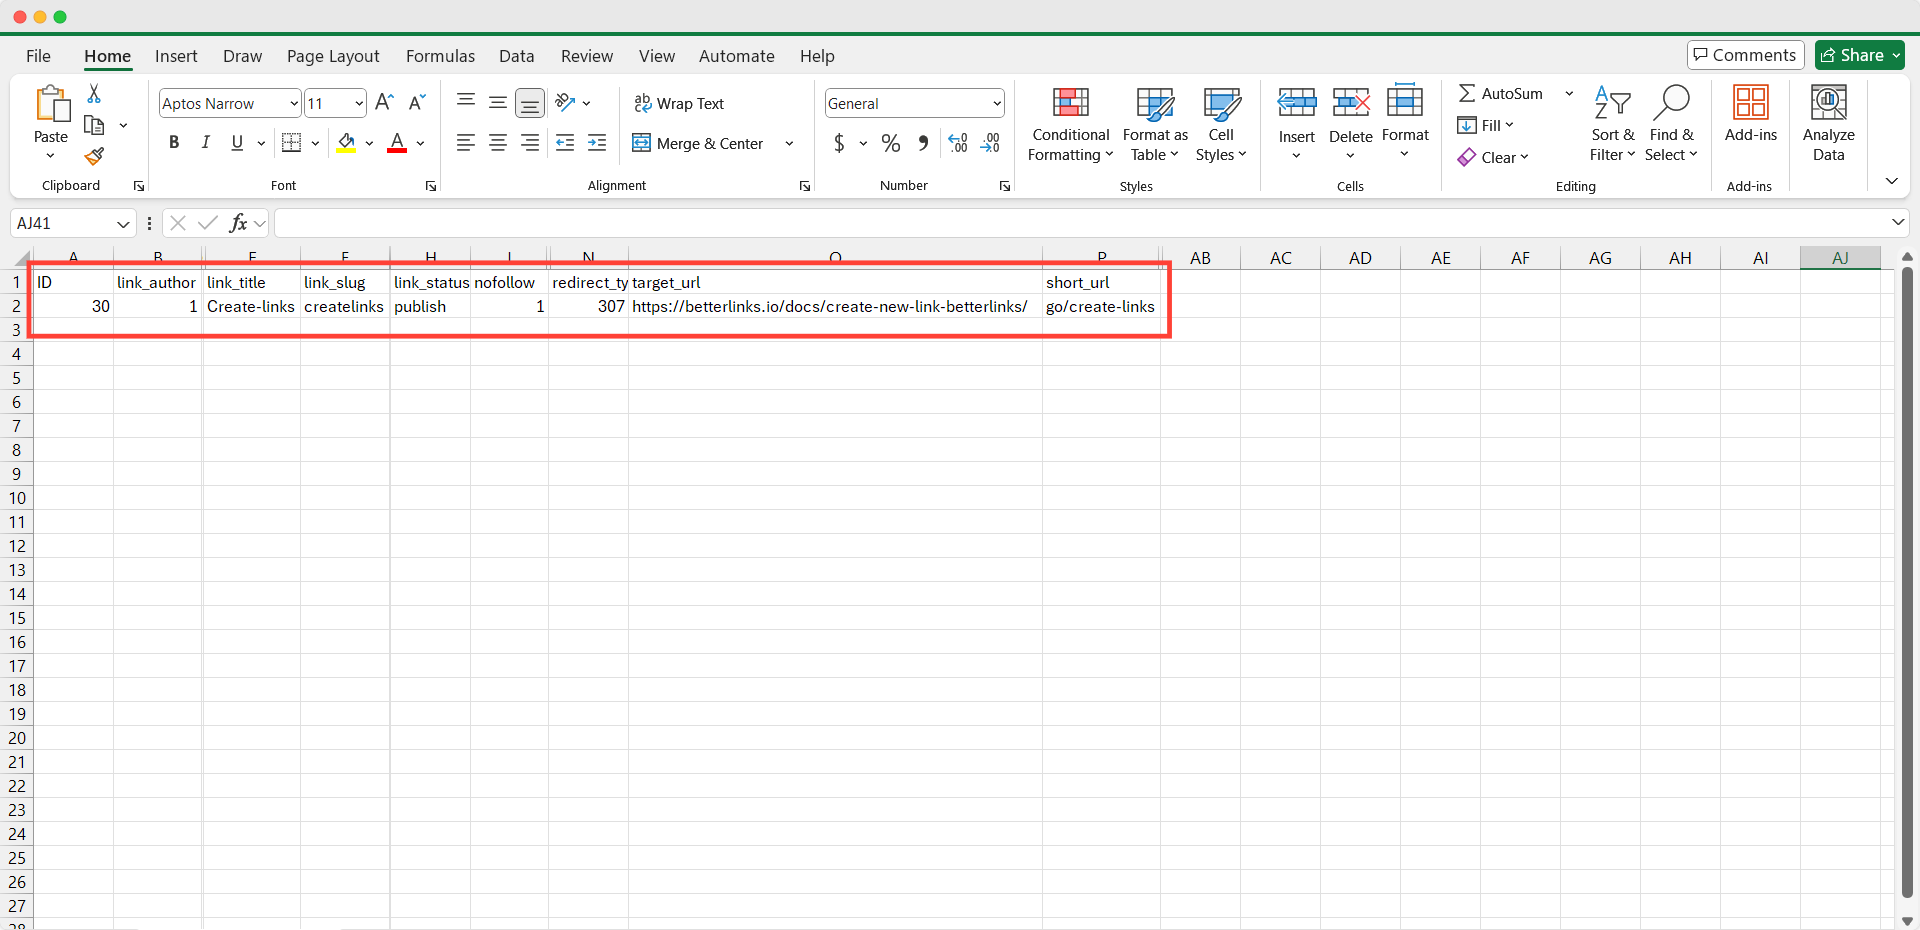
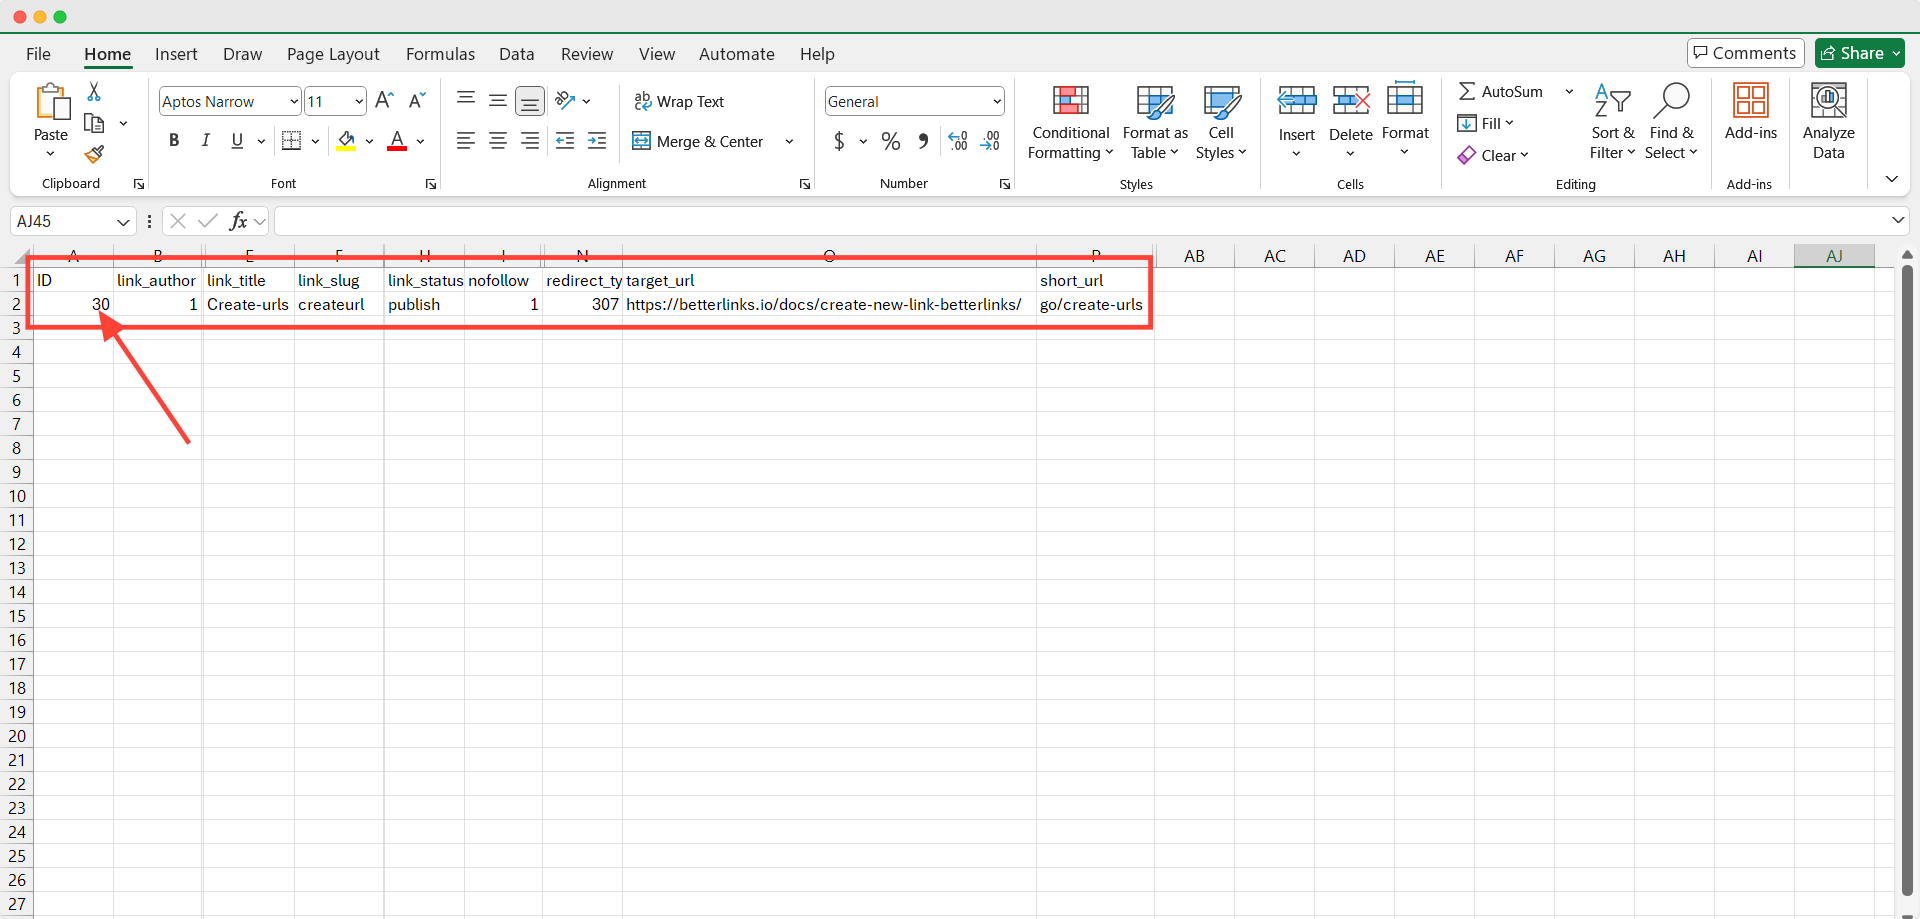
Open the downloaded CSV file using ‘Microsoft Excel’, ‘Google Sheets’ or any spreadsheet tool of your choice. Locate the link(s) you recently created.
Note: If you’ve created several links before, the most recent ones will appear at the bottom of the file. However, if you’re creating a link for the first time, it will show up at the top of the spreadsheet.

Edit or customize the links as needed (e.g., change URLs, titles, or slugs). Save the updated file in .csv format.

Note: The shortlink you customize in the CSV must have a unique ID. Use an incremented value for each URL—no duplicate IDs allowed.
Step 4: Import the Customized CSV #
Return to the ‘Tools’ section in BetterLinks. Switch to the ‘Import’ section. Choose the customized CSV file you saved earlier. Click ‘Import File.’

All links from the CSV file will now be imported into your BetterLinks database.

Final Outcome #
To confirm your links were imported successfully, go to ‘BetterLinks’ → ‘Manage Links.’ You will see your customized links listed and ready to use.

That’s it! You’ve successfully imported a custom CSV file into BetterLinks.
Need help? Feel free to reach out to our Support Team for assistance anytime.


