Behind every successful WordPress website lies a simple hero, the clickable link. Links guide visitors through your content, connect related pages and help improve your site’s SEO. For beginners, adding links might feel a bit tricky at first but it is easier than you think.

From blog posts and pages to navigation menus, clickable links make your content more interactive and user-friendly. This blog will show you how to add links in WordPress step by step, along with practical tips to make them more effective and engaging.
What Are Clickable Links?
Clickable links are pieces of text, buttons, or images that users can click to visit another page or website. In WordPress, you can add clickable links to posts, pages, menus, widgets and even images.
These links are also known as hyperlinks. They are used to connect different parts of your website or to link to external sources. When used correctly, clickable links improve user experience and help search engines understand your site better.
When you add a clickable link, you are creating a direct path for users to follow. This could be:
☑️ A link to another blog post
☑️ A link to a product page
☑️ A link to a contact form
☑️ A link to an external resource like Google
In WordPress, clickable links are added using the built-in editor. To create one, you simply highlight the text you want to link, click the link icon in the toolbar and paste the URL you want to connect.
Once applied, the selected text becomes interactive and clickable, allowing users to navigate to the linked destination. These links can be placed in various parts of your website, including blog posts, pages, navigation menus, sidebar widgets, footer sections and even images or buttons. This flexibility makes it easy to guide visitors through your content and improve overall site usability.
Types of Clickable Links
Links are the backbone of any website, guiding users, improving SEO and connecting content seamlessly. There are several types of clickable links you can use depending on your content and goals.
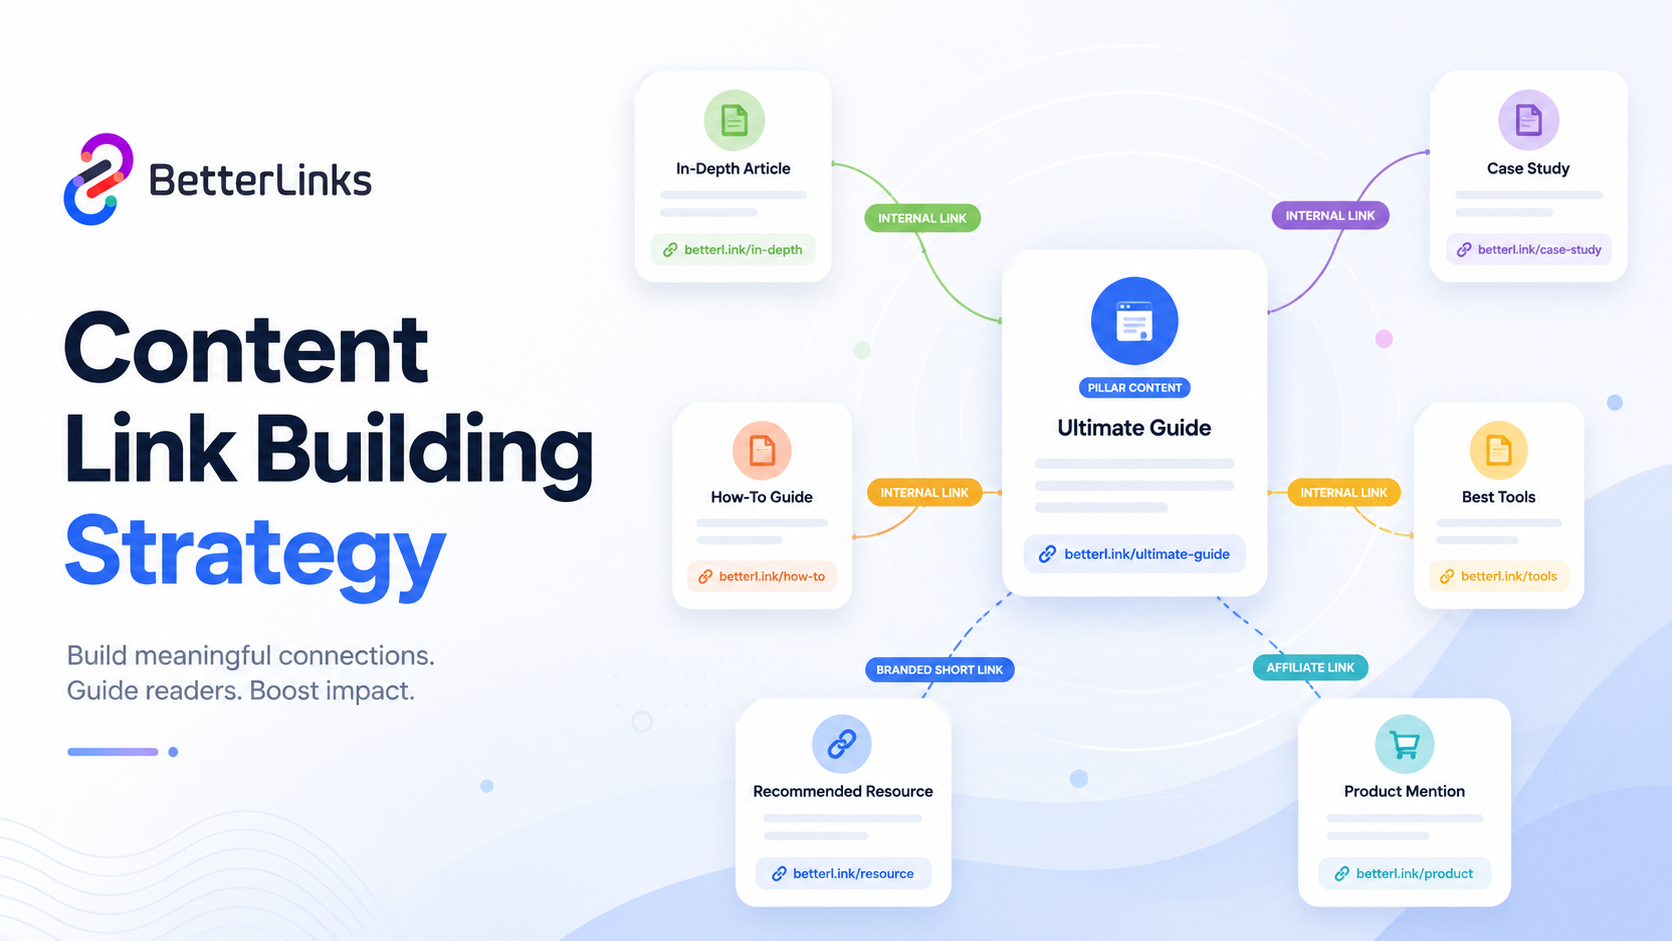
Internal Links in WordPress
Internal links are hyperlinks that connect one page or post on your WordPress site to another. They help users discover related content and improve your site’s overall structure.
For example, if you write a blog post about ‘How to Add Clickable Links in WordPress,’ you can include an internal link to another post titled ‘Best WordPress Plugins for Link Management.’ This keeps users engaged and encourages them to explore more of your content.
Internal links also help search engines understand how your pages relate to each other. When Google crawls your site, it follows these links to index your content more effectively. This can improve your rankings and visibility.
External Links in WordPress
External links point to websites outside of your own. These are useful for referencing trusted sources, citing research, or sharing helpful tools with your readers.
For example, if you mention SEO best practices in your post, you can include an external link to Moz or Search Engine Journal to support your information. This adds credibility to your content and helps users learn more.
External links also show search engines that your content is well-researched and connected to reputable sources.
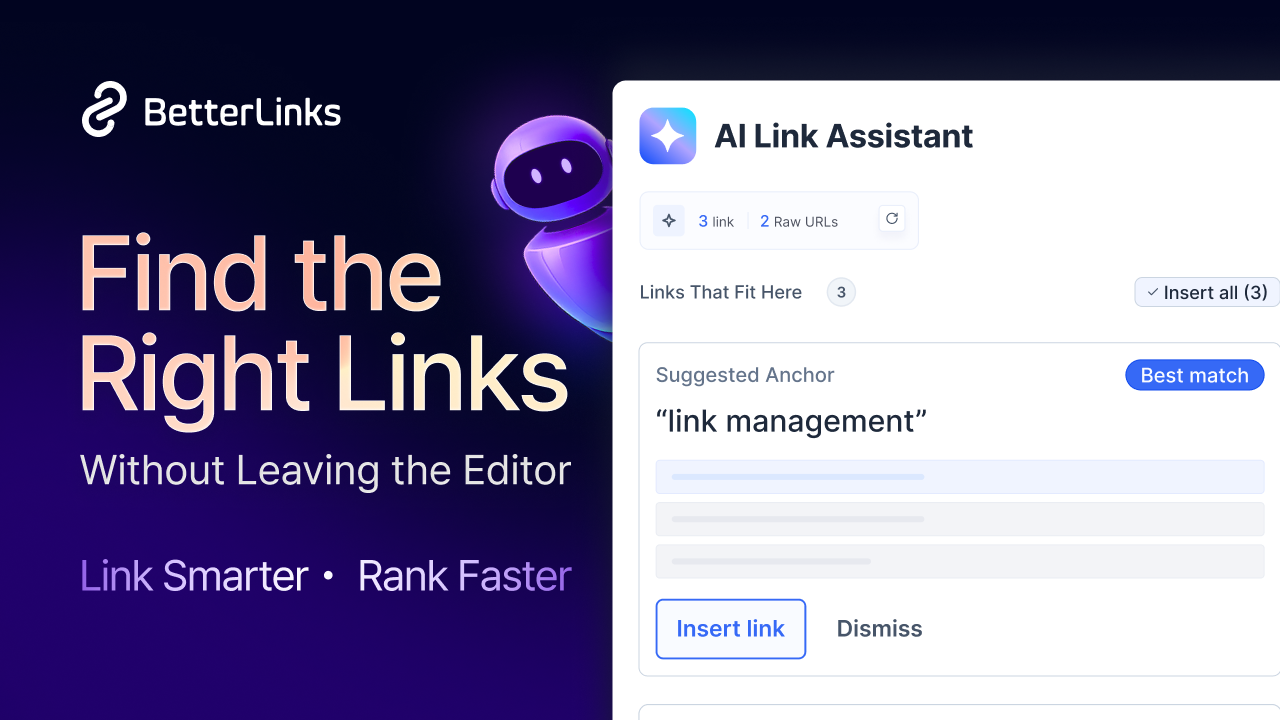
Anchor Links in WordPress
Anchor links are clickable links that take users to a specific section within the same page. These are especially helpful for long-form content, guides or FAQ pages where users want to jump directly to a topic.
For example, if you publish a detailed tutorial titled ‘How to Set Up BetterLinks,’ you can add anchor links at the top that lead to sections like ‘Installation Steps,’ ‘Creating Short Links,’ or ‘Tracking Clicks.’ This makes navigation easier and improves readability.
Image Links in WordPress
Image links turn pictures into clickable elements. Instead of linking text, you link to an image so users can click it to visit another page or website. This is useful for banners, product photos, or visual calls to action.
For example, if you display a promotional banner for a new plugin, you can link the image to the product page. When users click the banner, they are taken directly to the page where they can learn more or make a purchase.
Understanding the different types of links and their common uses can help you create a more navigable and effective site:
| Internal Links | External Links | Anchor Links | Image Links |
| Linking a blog post to a related tutorial | Citing statistics or research from industry blogs | Table of contents in blog posts | Linking a product image to its detail page |
| Connecting a product page to an FAQ section | Linking to official documentation or tools | Jump-to-section links in FAQs | Making a banner clickable for promotions |
| Adding links to category or tag pages | Sharing resources like Google Analytics or Shopify tutorials | Navigation within landing pages | Linking social media icons to your profiles |
| Linking to your contact or about page from your homepage | Referencing news articles or expert opinions | Linking to specific steps in a tutorial | Turning logos into links to partner websites |
How to Add Clickable Links in WordPress
Clickable links are essential for any WordPress site. They guide readers to related content, point to trusted resources and make your site easier to navigate. This step-by-step guide will show you how to add links correctly and make them more effective.
Clickable Links in Posts and Pages
Clickable links make your posts and pages more interactive, guiding readers to related content and external resources with ease. How to add clickable links in WordPress with the Block Editor:
Highlight the words you want to turn into a link (this is your anchor text). A toolbar will pop up and click the little chain-link icon. Paste the URL you want. It can be another page on your site or an external resource. Hit ‘Enter’, your text is now clickable!

Note: You can also choose to open the link in a new tab from ‘Advanced’. This is useful for external links so users do not leave your site.
Clickable Links in WordPress Menus
Menus are a key part of your site’s navigation. Adding clickable links to your WordPress menu helps users find important pages quickly. Here’s how to add clickable links in WordPress menus:
In a blank block, type /Navigation and select it to insert the menu. Add labels for each item, like ‘Blog,’ ‘Contact,’ or ‘About Me,’ then click the item to paste its URL. Finally, click ‘Save’ to confirm and update your menu.
In ‘Advanced,’ you can open links in a new tab, perfect for keeping users on your site when linking externally.

Clickable Links to Images in WordPress
Make your images interactive by adding clickable links. It directs visitors to pages, files, or external sites right from your images in WordPress. This is helpful for banners, product images, or visual calls to action.
To do this, edit the page, post, or template containing the image, click on the image and then click the Link icon in the toolbar.
You can paste a URL, search for pages or posts on your site, or choose options like linking to the original image file, the attachment page, or enabling a lightbox effect. To remove a link, click the image again, open the Link toolbar and click the remove link icon. This makes it simple to manage links on your images without any coding.
Need a little extra guidance? Do not worry, we have got you covered! Check out our detailed documentation for a clear, step-by-step walkthrough.
This method works well for linking to product pages, blog posts, or external sites.
Why You Should Add Clickable Links in WordPress
Adding clickable links in WordPress is not just about navigation. It is also about improving your site’s performance and helping users find what they need. Some key benefits of clickable links:
Smooth Navigation Across Pages
Clickable links make it easy for users to move between different sections of your site. Whether someone is reading a blog post, browsing your homepage, or checking out a product page, links guide them naturally without confusion.
For example, if you mention a related article in your blog post, adding a clickable link to that article allows users to read more without having to search. If you run an online store, linking product descriptions to detailed pages helps customers learn more and make informed decisions.
Faster Access to Information
Clickable links save users time by giving them direct access to the content they need. Instead of manually searching through your site or using the search bar, visitors can simply click and go.
For example, if you mention a feature in your blog post, linking to a detailed explanation or demo page helps users learn more instantly. If you reference a product, linking to its purchase page allows users to take action right away.
Clear Pathways for Visitors
Clickable links help create clear pathways throughout your website. They show users where to go next and what to do, making your site feel more organized and purposeful.
For example, at the end of a blog post, you can link to a related guide or product page. On your homepage, link to your most popular categories or services. These pathways guide users to key areas, keeping them engaged longer and helping increase conversions and revenue.
Common Mistakes to Avoid When Adding Clickable Links
Links may seem like a small detail, but they do a lot more than just give readers something to click. The right links can guide your visitors to what they need, boost your SEO and keep people exploring your site longer. Elementor points out that understanding the basics, like anchor text, the URL and simple link settings can make a big difference in how effective your links are.
While adding clickable links is easy, there are some common mistakes you should avoid. These mistakes can affect user experience and SEO. Here are a few things to watch out for:
🔴 Broken Links
Broken links frustrate users and can negatively impact SEO rankings. According to studies, websites with frequent broken links see higher bounce rates and lower user engagement. Always test your links after adding them and perform periodic audits to catch outdated or removed URLs.
🔴 Overusing Links
Research shows that excessive internal or external links can reduce readability and engagement. In fact, studies suggest that when a page contains more than 100 hyperlinks, it can lead to link dilution and navigation confusion. Overusing links, especially in blog posts or related content sections, can overwhelm readers and reduce the clarity of your message.
🔴 Weak Anchor Text
Anchor text should clearly describe the linked content. Using vague phrases like ‘click here’ does not inform users or search engines about the link’s context. Descriptive anchor text improves click-through rates and helps search engines understand your page’s structure.
🔴 Not Opening External Links in New Tabs
When external links open in the same tab, users often get frustrated as they lose their place on your site and have to use the back button to return. This disruption can cause users to leave entirely. Opening external links in a new tab is a best practice because it keeps users engaged with your content while they explore external resources, reducing frustration and lowering bounce rates.
🔴 Ignoring Link Tracking
Adding links without monitoring performance is a missed opportunity. Plugins like BetterLinks allow you to track clicks, measure engagement and optimize your linking strategy. Data-backed decisions help improve content performance and conversion rates over time.
From Clicks to Conversions: Link Like A Pro
Clickable links are a simple but powerful tool in WordPress. They help users navigate your site, improve SEO and boost engagement. Whether you are linking to another post, an external resource or a product page, clickable links make your content more useful.
Is this blog helpful? Join our community to stay updated with the latest blogs, product reviews and WordPress solutions. Subscribe to our blog for in-depth tutorials, tips and the newest updates.